Drywall Repair Services for Property Owners
Visitors will learn how local drywall repair contractors can fix damage and improve walls, helping property owners compare options and connect with service providers.
- - Residential homeowners seeking quick and reliable drywall repair solutions for interior walls and ceilings.
- - Property managers and landlords needing efficient repairs to maintain rental property standards.
- - Commercial property owners requiring professional drywall fixes to keep office or retail spaces presentable.
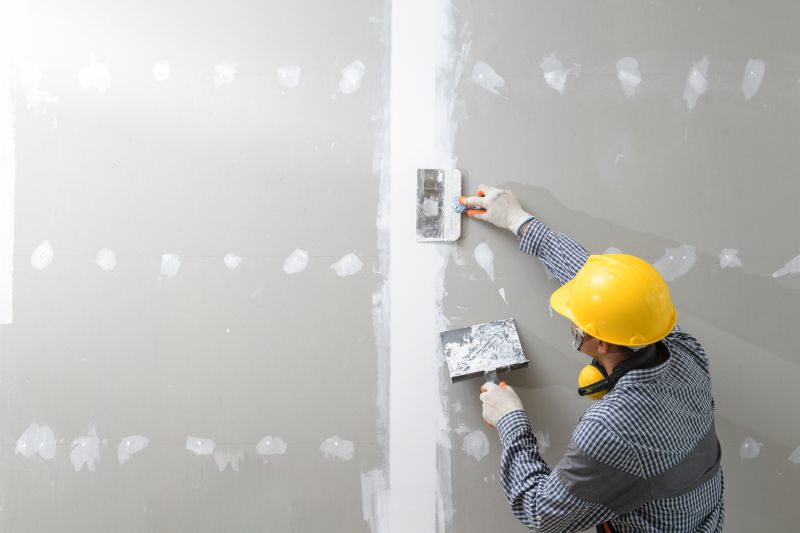
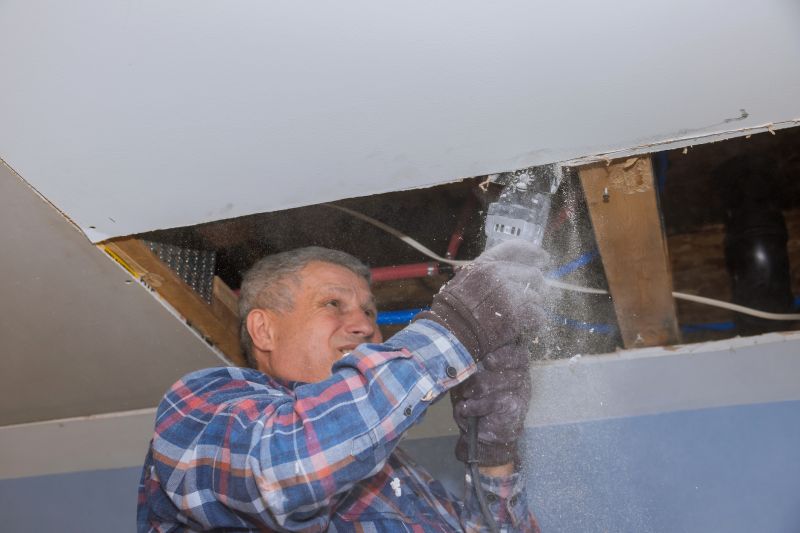
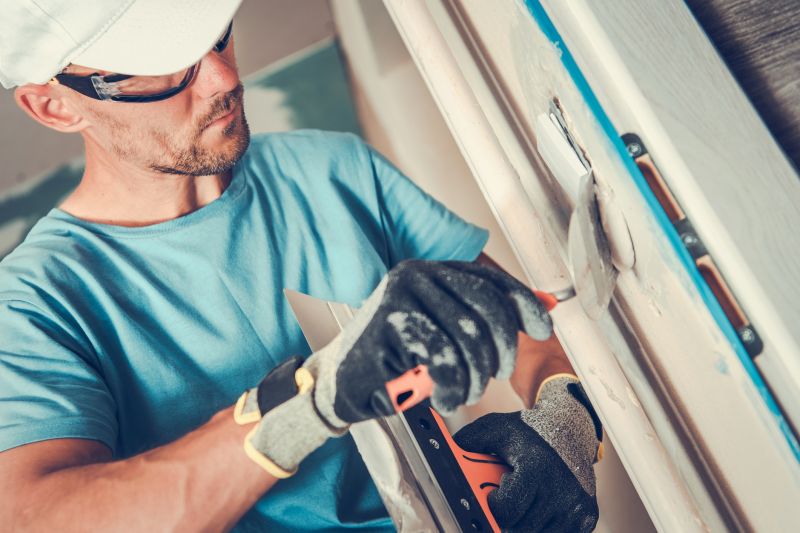
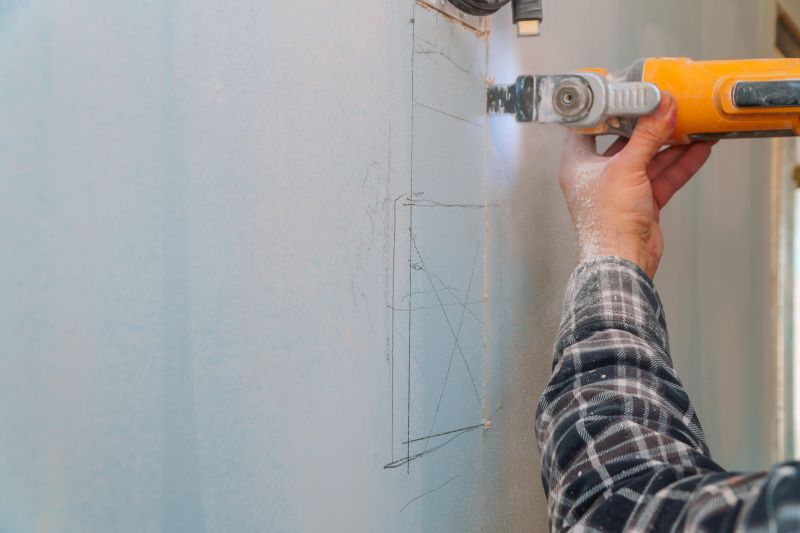
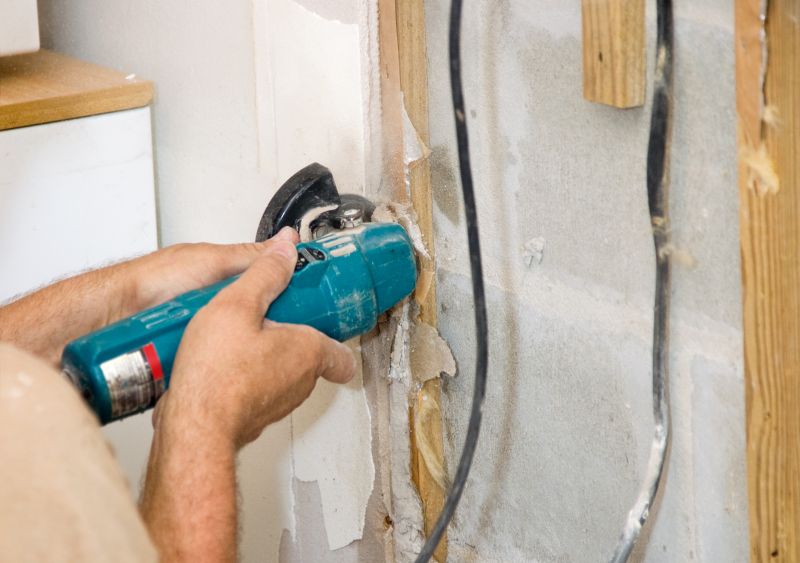
Drywall repair services are often needed when walls or ceilings experience damage such as holes, cracks, or water stains. Property owners may seek assistance from local contractors who specialize in restoring the integrity and appearance of interior surfaces. These professionals typically handle tasks like patching holes, smoothing out imperfections, and preparing surfaces for finishing, ensuring that walls look seamless and well-maintained.
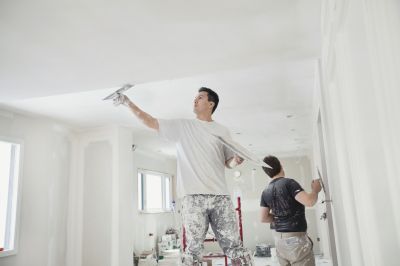
Connecting with experienced local contractors can help address a variety of drywall issues efficiently and effectively. Whether dealing with minor repairs or larger restoration projects, property owners can expect skilled service providers to assess the damage, recommend appropriate solutions, and perform the necessary work to improve the condition of interior surfaces. This approach allows homeowners and business owners to find reliable local pros suited to their specific drywall repair needs.
This guide provides helpful information to understand the basics of drywall repair and what to consider when planning a project. It assists in comparing local contractors and service providers to find the right fit for your needs. Additionally, the guide helps you prepare to discuss your project details with local drywall repair specialists.